Description
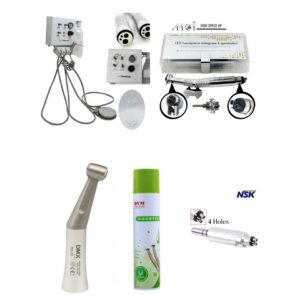
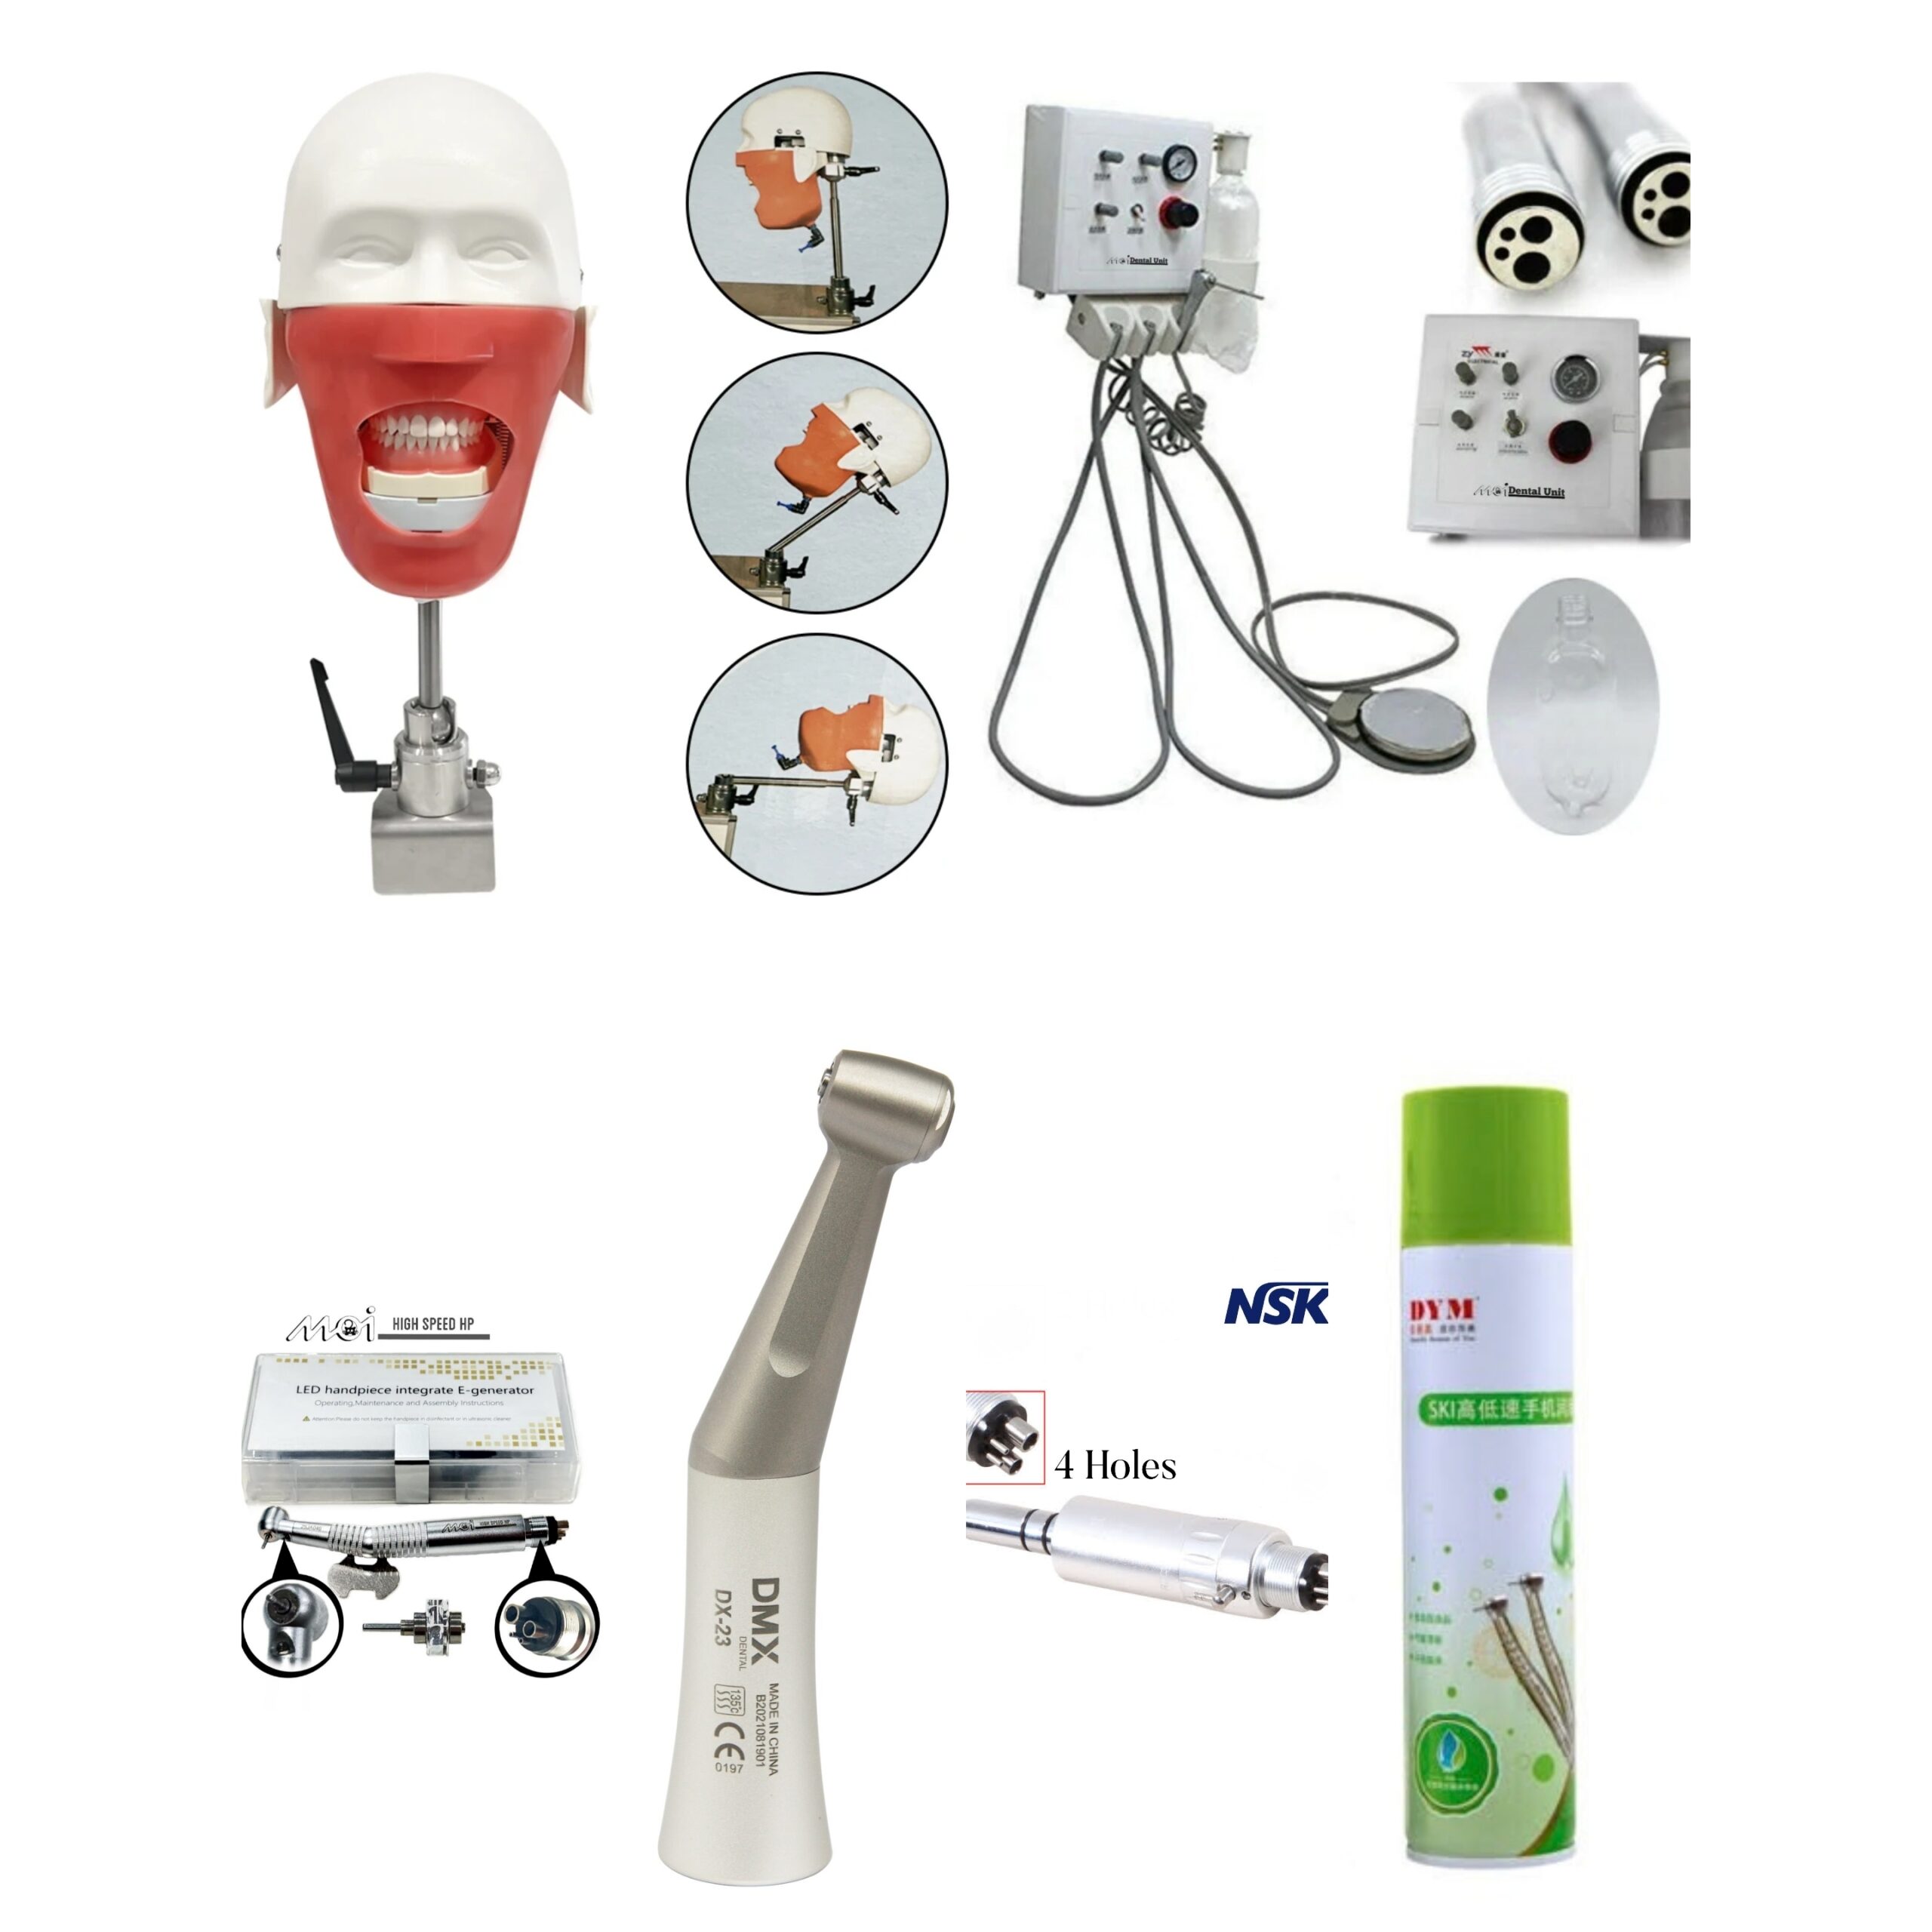
This integrated bundle offers everything you need to outfit a dental simulation / operatory workstation: from manikin phantom head, wall-mounted unit, to essential drive tools and maintenance supplies. Each component is selected to work together for training, demonstration, and practical use.
⸻
Bundle Components & Descriptions
Item | Description & Features | Use / Integration Notes |
ADC-Compatible Dental Manikin / Phantom Head with Magnetic Jaws | A realistic dental ergonomic simulator head, with magnetic jaws for easy mounting and removal of typodonts / teeth models. Compatible with ADC-style mounting systems. | Provides a life-like platform for preclinical training, allowing students to practice access, cavity prep, hand-/mirror work, etc. The magnetic jaws facilitate quick tooth model swaps. |
Wall Mounted Dental Unit | Compact wall-mountable delivery unit (air, water, tubing, foot control ports) designed for connecting handpieces and air motors. | Ideal for tight spaces, simulation labs, or adding an “operatory” to a teaching lab without needing a full floor console. Use this to power the handpieces in your bundle. |
High Quality Handpiece Lubricant / Oil Spray (330 ml) | Precision formulation oil spray designed for routine lubrication and maintenance of high-/low-speed handpieces. | Regular lubrication is vital to prolong the life of turbines, contra-angles, and air motors. Use before sterilization cycles (per manufacturer recommendations). |
Kavo LED High-Speed Handpiece (4-Hole) | A high-speed turbine handpiece with integrated LED illumination, designed for standard 4-hole connectors. | This is your primary cutting instrument for crown prep, endo access, etc. The LED helps illuminate the operative field in the manikin’s mouth. |
DMX Contra-Angle Slow-Speed Handpiece | A contra-angle handpiece for slow / finishing work (e.g. polish, finishing restorations, prophylaxis). | Connects to the same or different line from the unit; used in conjunction with the high-speed handpiece in multi-step procedures. |
NSK Air Motor (4-Hole) | A 4-hole low-speed air motor (micromotor) unit to drive contra-angle attachments or straight handpieces. | Supplies rotational drive for polishing, finishing, laboratory tasks. Using a dedicated motor ensures optimal RPM / torque control. |
⸻
Suggested Integration & Workflow
1. Mount the phantom head securely to the bench or simulation frame, ensuring alignment with the operator’s chair and light.
2. Install the wall-mounted dental unit at an ergonomic height beside or behind the phantom. Connect supply lines (air, water) and ensure tubing reaches the handpiece ports.
3. Connect the handpieces / motor to the appropriate ports (4-hole connectors) on the dental unit. Ensure correct couplings (e.g. for high speed vs low speed line).
4. Perform lubrication routine using the included handpiece oil spray:
• Before first use, and regularly after cleaning / sterilization cycles.
• Follow recommended protocol (spray into port, run the handpiece for a few seconds, then purge / drain).
5. Use high speed + contra-angle + motor in sequence:
• Begin with the Kavo LED high-speed for cutting / preparation.
• Switch to the DMX contra-angle (driven by the NSK air motor) for smoothing, finishing, or polishing stages.
6. Maintenance and upkeep: keep the handpiece oil spray accessible, schedule regular checks, clean filters, check tubing, etc.
Portable Dental Unit – Installation and Operating Instructions
Contents of the Box
The package includes the following items:
* Portable Dental Unit
* Transparent air supply tube
* Connection tubing for the High-Speed Handpiece
* Connection tubing for the Slow-Speed Handpiece
* Triplex syringe (pre-connected to the dental unit)
* Foot pedal pre-connected to the dental unit
* Water bottle
⸻
Installation Instructions
1. Positioning the Dental Unit
Place the dental unit in a stable vertical position. Ensure there is sufficient distance and space to place the foot pedal comfortably on the floor for easy operation.
2. Connecting the Handpieces
* The first tube, located on the right side of the dental unit, is for connection to the High-Speed Handpiece.
* The second tube, located in the middle, is for connection to the Slow-Speed Handpiece.
* The third tube, located on the left side, is connected to the Triplex Syringe.
3. Filling the Water Bottle
Fill the water bottle to approximately three-quarters (¾) of its capacity only. Do not fill it completely, as sufficient air space must remain inside the bottle to generate the appropriate internal pressure required to deliver water properly.
4. Connecting the Transparent Tube
Connect the transparent tube to the dental unit as follows:
1. Locate the fixing screw at the bottom of the dental unit and loosen it.
2. Insert the screw onto the transparent tube.
3. Connect the transparent tube to the metal connection port.
4. Tighten the screw securely to ensure there is no air leakage.
The other end of the transparent tube requires a suitable connector/adaptor (to be purchased separately) in order to connect it to the air compressor.
⸻
Compressor Pressure Adjustment
After connecting the dental unit to the compressor, check the pressure gauge on the dental unit.
If the gauge reads below 30 psi, the airflow from the compressor is insufficient.
To correct this:
1. Open the airflow control valve on the compressor gradually.
2. Operate the handpiece while observing the pressure gauge.
3. Adjust the compressor output until the pressure gauge on the dental unit reads approximately 90 psi.
Important: Do not adjust or tamper with the pressure regulator on the dental unit itself. The unit has already been calibrated and is ready for use. All pressure adjustments should be made only from the compressor side.
⸻
Final Checks Before Use
After completing all connections between the dental unit and the compressor, ensure that the following switches on the dental unit are turned ON:
* Air Switch – ON
* Water Switch – ON
* Water Bottle Switch – ON
Once these switches are turned on and the pressure is adjusted correctly, the dental unit is ready for operation.
HP Maintenance Recommendations
To maintain the efficiency of the handpieces and ensure long-term, reliable performance, please follow these recommendations:
1. Use Distilled Water Only
Always use distilled water instead of tap water in the water bottle.
Tap water contains minerals and impurities that can accumulate inside the tubing and the turbine of the handpieces. Over time, these deposits may cause blockages, reduce performance, and lead to the formation of limescale and mineral residues, which can damage the internal components.
2. Ensure the Compressor Has an Air Filter
The air compressor should be equipped with an appropriate air filter.
Dust particles and contaminants carried by unfiltered air can enter the dental unit and handpieces, causing blockages, reducing efficiency, and contributing to the buildup of internal deposits.
3. Daily Lubrication and Cleaning
Use a suitable handpiece lubricating oil spray and anti-deposit cleaning spray every day.
* Apply the spray before the first use of the day.
* Apply it again after finishing work at the end of the day.
The spray should be applied through all inlet and outlet openings (ports) of the handpiece to ensure proper lubrication, cleaning of internal components, and removal of moisture and debris.
Regular maintenance will significantly prolong the lifespan of the handpieces and help maintain optimal performance.
May cause allergic reactions in sensitive individuals. Users are responsible for assessing suitability before use.For educational simulation use only. Not for clinical or patient use.